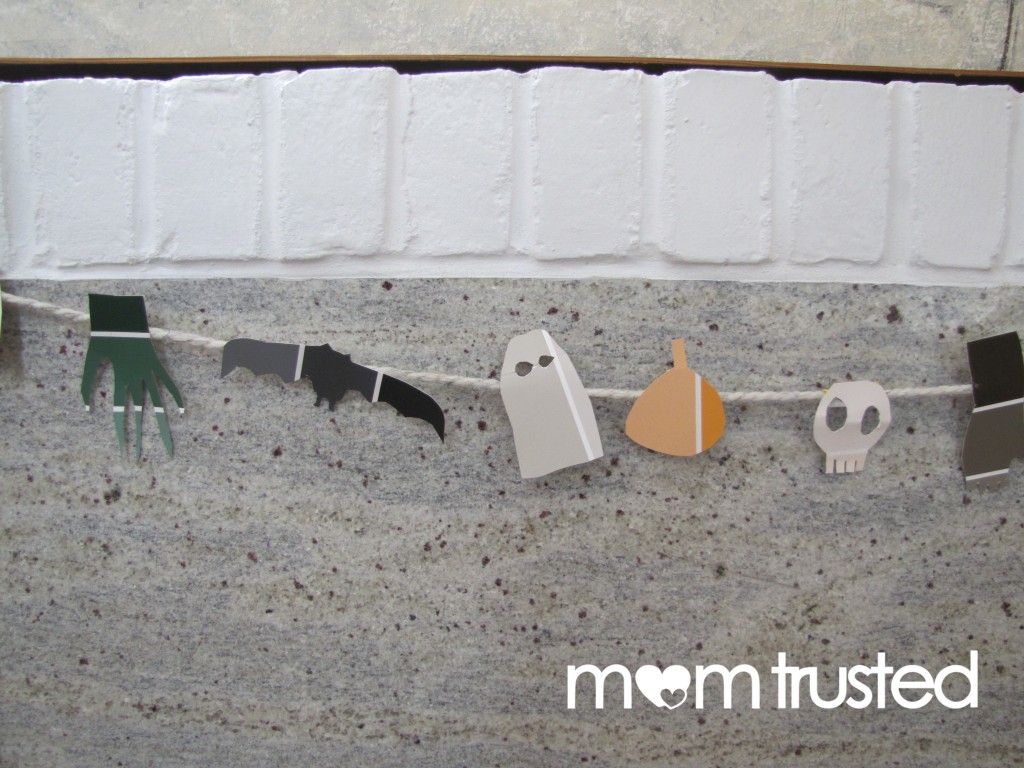
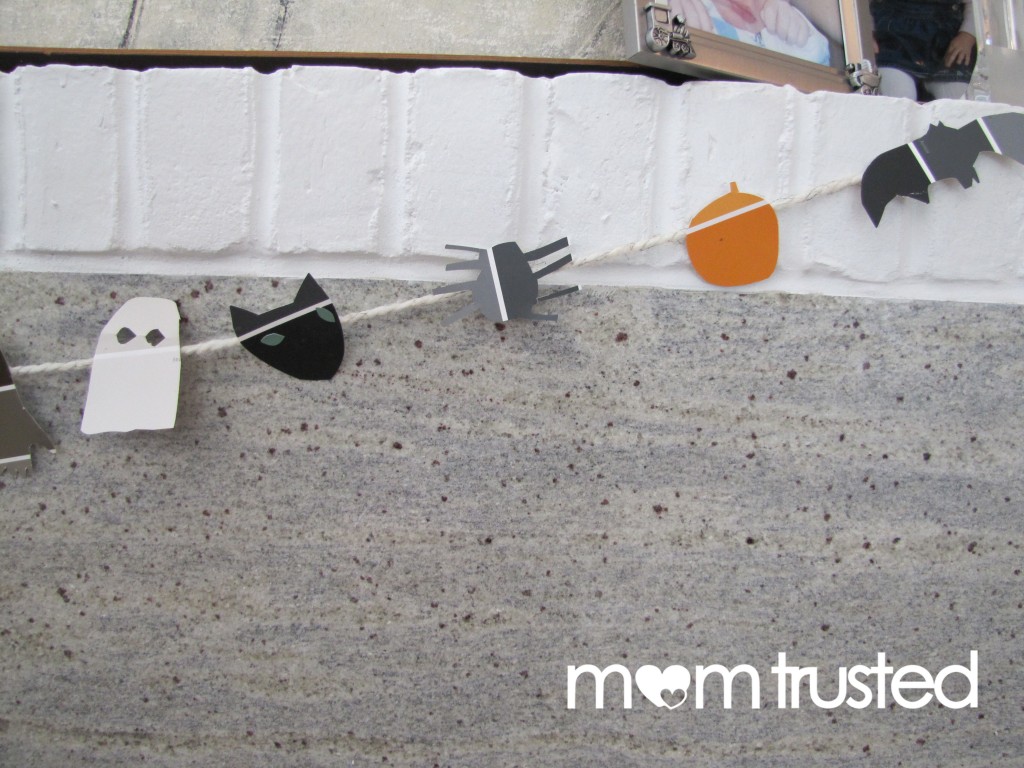
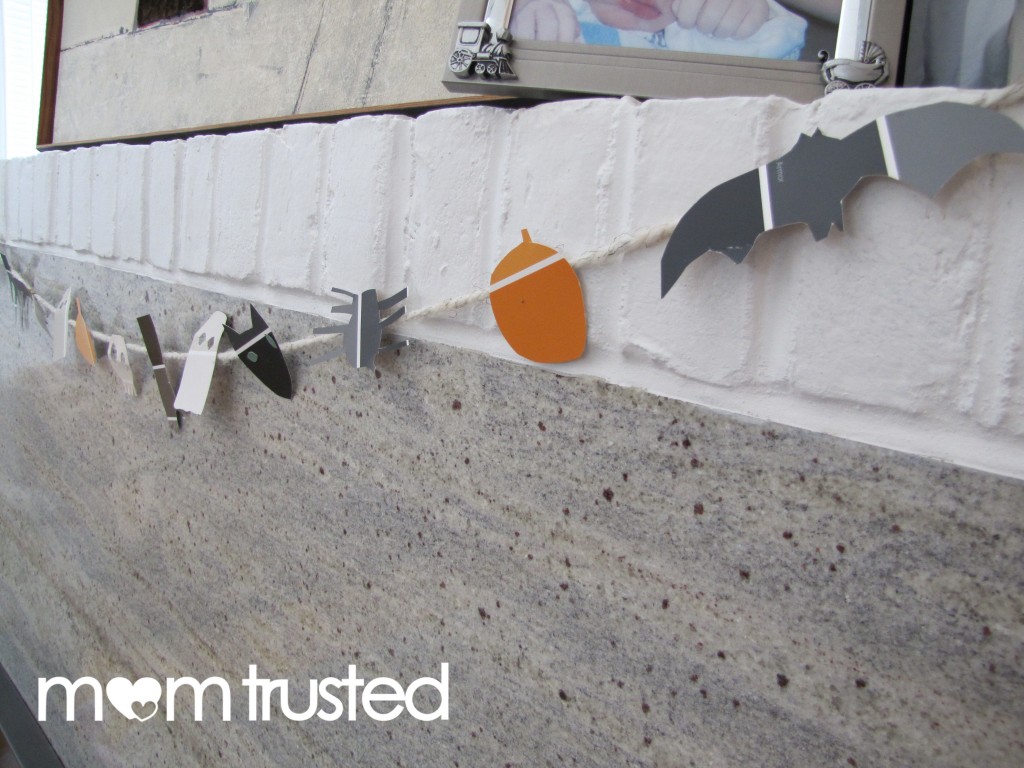
Every trip to the hardware store seems to result in a pocket full of paint sample colors, and we LOVE making crafts from them! I guess because of the season, we ended up with a lot of spooky colors this time – we used them to make this easy holiday garland.
Your garland is only limited by your imagination! After scoping out the colors we brought home, we brainstormed Halloween-y imagery. I found a good approach for coming up with ideas was to look at the color (for instance, a brown), and ask, “What is brown on Halloween?” (One good answer: WEREWOLF HANDS!). Some other ones were: black cats, ghosts of every ombre color, bats, skulls, frankenstein, witch hats, etc.
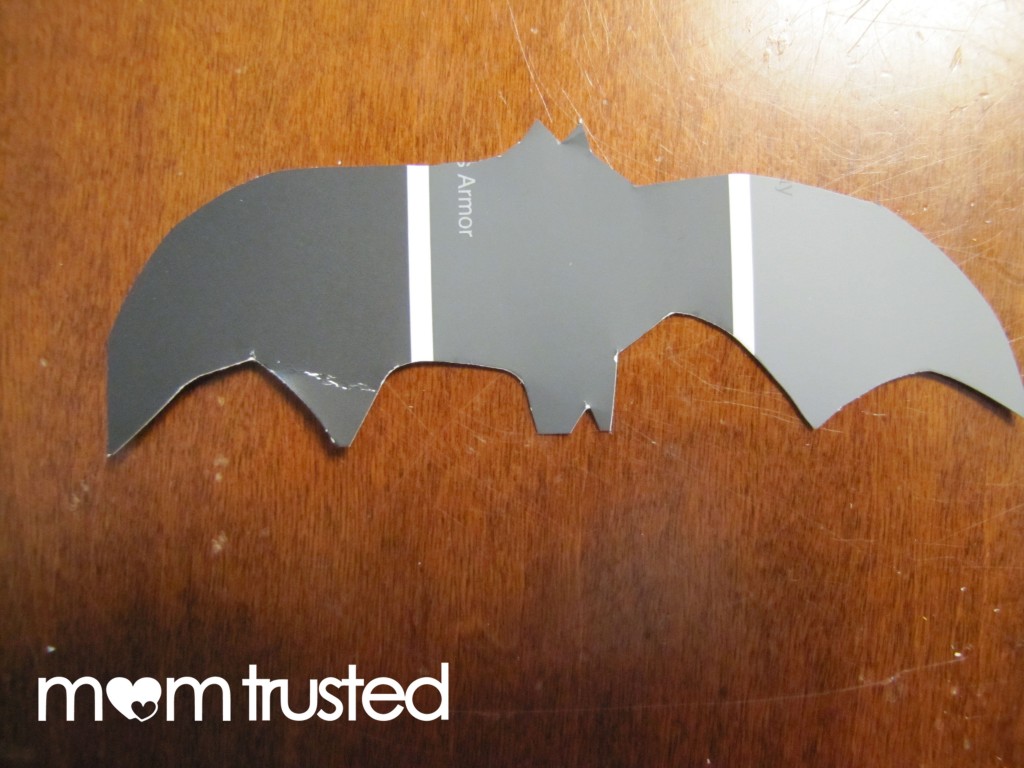
After choosing some images we wanted to work with, we began sketching and cutting. For this project, use a pen on the back of the paint chips, and draw “as big as you can”. (Sometimes we ended up with very small bats or pumpkins on the cards. An easy way to expand them is to encourage kids to draw so the picture touches every side of the paint chip. A 1" pumpkin is hard to cut out and see! but a 3" pumpkin is way more doable.)
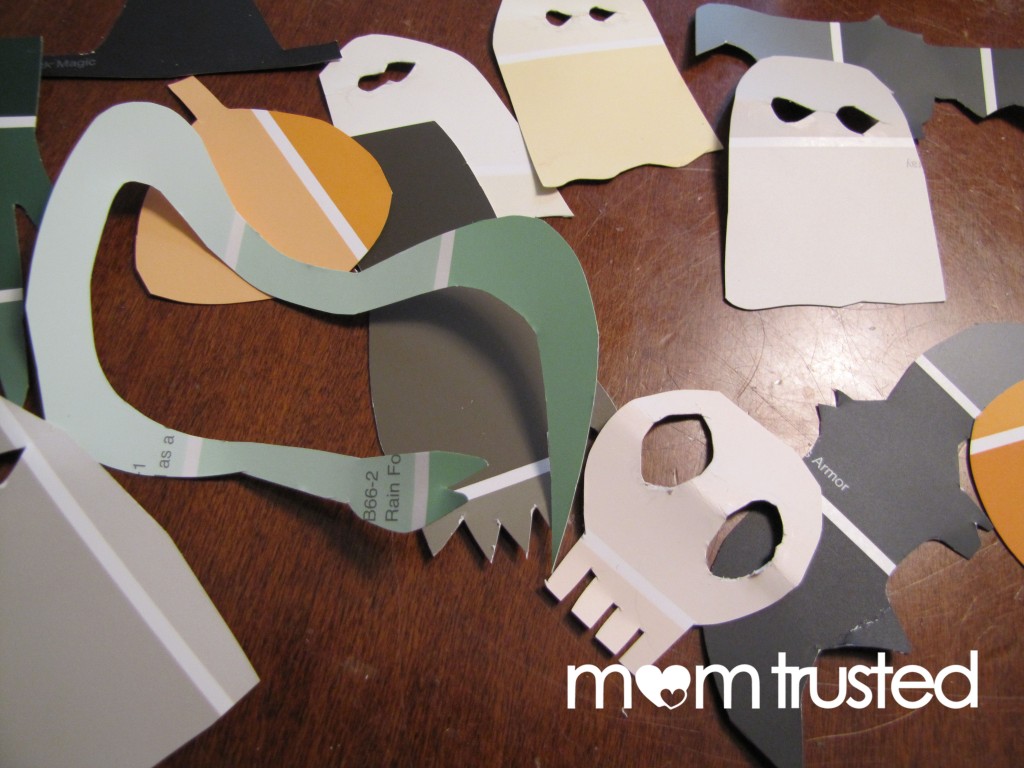
Cut out the shapes! Some were easy and some were tricky (eye holes, for instance), so this was a joint effort on our part.
Use tape to attach the shapes to yarn or string, spacing them as close or far as you please. (Clear tape, packaging tape, masking tape, painters tape, or super cool flame duct tape will work well.)
Kids will get a kick out of deciding which spooking cut out should come next in line! One “favorite” part of this project was deciding where it would hang. While it was briefly on view at the mantel, it was quickly moved around to several spots before finding the final resting spot, as a necklace on a witch decoration!
Related topics
Most recent
-
Loading ...